Control tape of Turing machine visualizer with XState
Published on
The execution of a Turing machine with an input produces a list of operations on a tape, that are made to be visualized. I built such a visualizer with XState, and used cool patterns to visualize operations on the tape.
This article is the first one of a series about our Turing machine visualizer built with XState .
A Turing machine is made of a head that reads symbols on a tape, and behaves according to a set of rules. It has a current state, like those of a finite state machine. When the machine is in a state T and reads a symbol S, it checks in the rules what to do in this case, and then replaces the symbol with another one on the tape, moves to right or left, and changes its state. Finite state machines, as implemented by XState, are a special case of Turing machines.
As part of a 42 school project, with a good friend of mine, Paul Rastoin, we built an interpreter for Turing machines in Erlang, to be used with a web visualizer made with Vue 3 and XState for all logic code.
Open Turing machine visualizer →
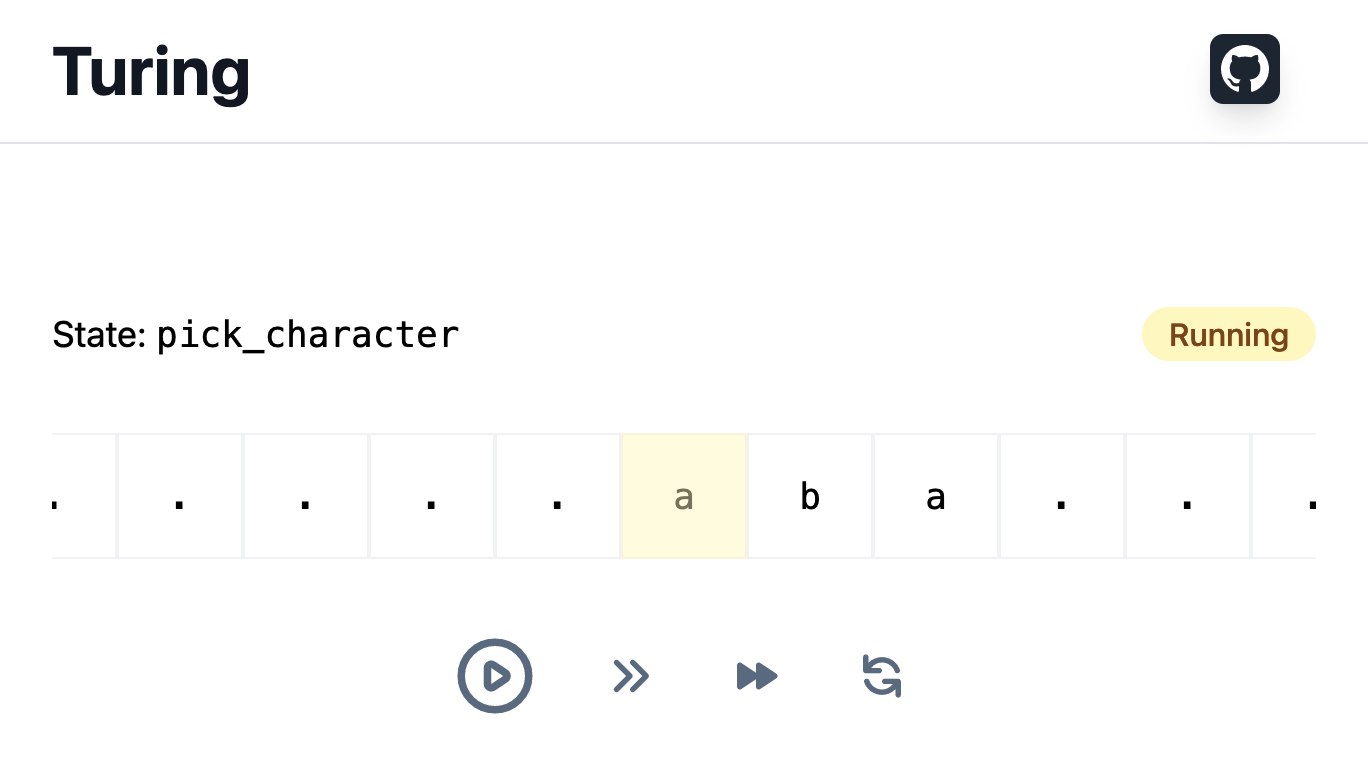
This article is the first one of a series in which we’re going to explore XState patterns used by the code of the visualizer. For today, let’s focus on the controls of the visualizer that let users start the execution, pause it and go step by step.
This article is for XState beginners that want to deepen their knowledge by example. Having played with XState before is highly recommended.
We use TypeScript to type the context and events with schema property, but apart from that no TypeScript knowledge is required.
permalinkMove tape automatically
When the user clicks to play the machine, the tape starts to move automatically, one step per second. The speed can be increased to reach two steps per second.
By default, automatic playing is off. User needs to click the play button to start automatic playing:
ts
To make automatic playing work, we create a delayed transition in Automatic playing on state, that transitions to the state itself, after incrementing the index of the step:
ts
Note that the transition is explicitly made external through internal: false. This is necessary because Automatic playing on state needs to be reentered for the delayed transition to be set up again.
The delay transition is defined with a string, which references a function dynamically computing the delay. It uses the speed mode, stored in context, to determine the delay between two steps:
ts
If the speed mode is modified while a timer is pending, only the timer of the next tick will know about the change. The current timer is not reset.
On Vue side, we compute the squares to print on the tape according to the step list and the current step index, and we let <TransitionGroup /> handle the smooth transition of squares:
svelte
permalinkPause and resume automatic playing
Player can be stopped and resumed with a single state transition:
ts
When we exit Automatic playing on state, the delay transition is cancelled. When we come back to Automatic playing on state, the delay transition is set up again, and some milliseconds later the tape will have been moved.
permalinkMove tape step by step
When debugging a Turing machine, one would want to analyze what occurs precisely on the tape. In this case, the automatic playing mode would not be really suitable. Instead, the user can move the tape step by step.
When we receive Next step event, that is emitted by next step button, we target Automatic playing off state from its parent node. Whether the automatic playing was on or not, we turn it off. We reuse the action that increments the step index and execute it each time the button is clicked:
ts
Again, because Automatic playing on state is exited, if a timer was scheduled, it is cancelled.
permalinkKnow when end of steps is reached
When end of steps is reached, we want to tell it to the user, stop automatic playing and allow restarting steps.
To implement this behavior, we need to wrap Automatic playing off and Automatic playing on states in another state, we name Playing steps. This state has a sibling state called Reached end of steps we want to target when end of steps has been reached:
ts
We use an eventless transition (with always keyword) to target Reached end of steps state when Has reached end of steps condition is met:
ts
Say that automatic playing is turned on, and the current step is the last one, the timer of automatic playing is about to end. The behavior of the machine is:
- Delay is reached
- Step index is incremented
- Reenter
Automatic playing onstate - Compute
Has reached end of stepscondition; as it returnstrue, targetReached end of stepsstate - Enter
Reached end of stepsstate
Reached end of steps state is entered even before the timer of Automatic playing on state is restarted.
The eventless transition will be tried when the state in which it is defined is entered for the first time, and then every time the machine processes an event.
Warning
We could have added this exit clause wherever we increment step index—to the delayed transition and the transition for Next step event. But it would require to duplicate this logic. Instead, with an eventless transition, we can add ways to increment step index, the transition to exit Playing steps state will keep working without duplication!
permalinkRestart steps when end has been reached
To enable to restart steps, we listen to another event in Reached end of steps:
ts
When this transition is taken, the tape recovers its original state, and all that remains is for the user to click on play button.
permalinkSummary
We saw how to execute an action periodically that updates the context of the machine, and lets the view layer apply animations on change. Animating the tape is done in a totally declarative way: from assign into context, to the use of <TransitionGroup />. That’s less hard work to do for us!
We saw that delays can be referenced as strings, and be implemented as a function that dynamically returns the delay by using values from context. Dealing with timers is not anymore a nightmare thanks to XState, as cancelling is done for us when exiting the state that created them.
Eventless transitions can be used to add an exit clause to a state, in order to prevent impossible states.
So that’s the first article of the series about Turing machine visualizer showcase! Next articles will be released soon.
We’ll talk about orchestrating requests and dealing with interlinked behaviors. But I have already said too much! 🤫
The code of the visualizer is on GitHub.
You can subscribe to RSS feed to be notified of releases!
The series contains the following articles:
- Control tape of Turing machine visualizer with XState
- Orchestrate request for server-side execution of Turing machine with XState
- Prevent flickering loading animation with XState
- Create stale data indicator with XState
- Create a proxy state machine to drive CSS transitions on state changes with XState